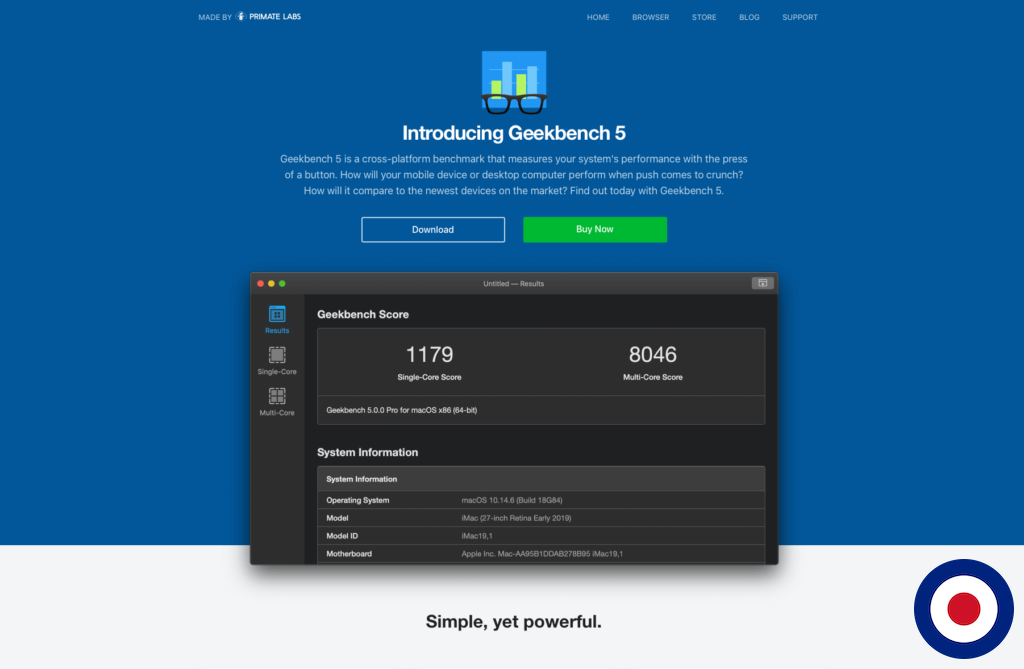
Geekbench is a cross-platform benchmarking tool that has been designed to measure your systems performance easily. The team behind Geekbench have developed applications for MacOS, Windows, Linux, Android and iOS.
The Geekbench benchmark will test and measure your system CPU, GPU and then provide the result using the Geekbench Browser which enables you to share the results with other. If you are interested to see some results from other people, you can take a look at the Geekbench Browser.

The CPU Benchmark will measure your CPU single-core and multi-core power and even measures performance in new application areas including Augmented Reality and Machine Learning. The GPU Benchmark, referred to as the Compute Benchmark will test your system’s potential for gaming, image processing, or video editing with support for the OpenCL, CUDA, and Metal APIs.
In this guide, we will show you how to install Geekbench 4 and Geekbench 5 using RHEL/CentOS for both RHEL/CentOS 7 and RHEL/CentOS 8. After installing the benchmarking tool we will show you how to run it, process the results and then delete the application and its associated files from your server.
Note
Geekbench is a harmless, light weight application which should not interfere with your current services or workload. However, as always, we would recommended that you test it on a new system and make sure to take backups.
Prerequisites
Firstly, before installing Geekbench you’ll need to ensure that your CentOS system is up to date. You can check for any system or software updates and install them using the following commands.
yum check-update
yum update -y
Also, you will need to ensure the wget and tar packages have been installed by using the following command.
yum install wget tar -y
Now you system is up to date and you have installed the wget package we can move onto installing Geekbench. There are currently two versions of Geekbench, version 4 and version 5. There are a few differences between the versions such as Geekbench 5 is 64-bit only and it doesn’t have individual memory tests but the biggest change is around the CPU scaling. Geekbench 4 used a Microsoft Surface Book with an Intel Core i7-6600U processor as its baseline with a CPU score of 4000. Geekbench 5 uses a Dell Precision 3430 with a Core i3-8100 processor as its baseline, with a score of 1000. Therefore you can expect Geekbench 5 to produce a score 75% to 80% than Geekbench 4.
The table below shows how the CPU benchmark score rates.
| Geekbench 4 | ||
|---|---|---|
| Version | CPU Score | Rating |
| Geekbench 4 | <1700 | POOR |
| Geekbench 4 | 1700 – 2300 | FAIR |
| Geekbench 4 | 2300 – 3000 | GOOD |
| Geekbench 4 | 3000 – 4000 | VERY GOOD |
| Geekbench 4 | >4000 | EXCELLENT |
| Geekbench 5 | ||
|---|---|---|
| Version | CPU Score | Rating |
| Geekbench 5 | <300 | POOR |
| Geekbench 5 | 300 – 450 | FAIR |
| Geekbench 5 | 450 – 650 | GOOD |
| Geekbench 5 | 650 – 900 | VERY GOOD |
| Geekbench 5 | >900 | EXCELLENT |
Install Geekbench 4
In order to install Geekbench 4 you’ll need to download the latest version from the Geekbench. You can use wget that we installed earlier using the follow command.
wget http://cdn.geekbench.com/Geekbench-4.3.3-Linux.tar.gz
Note
At the time of writing this guide, the latest Geekbench 4 version was 4.3.3. This may have been updated since and we would always recommend that you check the Geekbench website to ensure you are using the latest version.
Once the download has finished we will use the tar package to unpack the .tar.gz file using the following command.
tar -zxvf Geekbench-4.3.3-Linux.tar.gz
Now we will open the directory where the files have been unpacked to using the following command.
cd $(ls -1d Geekbench-*/ | tail -1)
Once the directory is open we will run the Geekbench 4 benchmarking tool using the following command.
./geekbench4
Geekbench 4 Test
The Geekbench 4 benchmarking tool will show you what stage it is at throughout with the output looking like this.
Running Gathering system information
System Information
  Operating System              Linux 4.18.0-193.14.2.el8_2.x86_64 x86_64
  Model                         Red Hat KVM
  Motherboard                   N/A
  Memory                        819 MB
  BIOS                          SeaBIOS 1.11.0-2.el7

Processor Information
  Name                          AMD EPYC 7282 16-Core Processor
  Topology                      1 Processor, 1 Core
  Identifier                    AuthenticAMD Family 23 Model 49 Stepping 0
  Base Frequency                2.80 GHz
  L1 Instruction Cache          64.0 KB
  L1 Data Cache                 64.0 KB
  L2 Cache                      512 KB
  L3 Cache                      16.0 MB

Single-Core
  Running AES
  Running LZMA
  Running JPEG
  Running Canny
  Running Lua
  Running Dijkstra
  Running SQLite
  Running HTML5 Parse
  Running HTML5 DOM
  Running Histogram Equalization
  Running PDF Rendering
  Running LLVM
  Running Camera
  Running SGEMM
  Running SFFT
  Running N-Body Physics
  Running Ray Tracing
  Running Rigid Body Physics
  Running HDR
  Running Gaussian Blur
  Running Speech Recognition
  Running Face Detection
  Running Memory Copy
  Running Memory Latency
  Running Memory Bandwidth

Multi-Core
  Running AES
  Running LZMA
  Running JPEG
  Running Canny
  Running Lua
  Running Dijkstra
  Running SQLite
  Running HTML5 Parse
  Running HTML5 DOM
  Running Histogram Equalization
  Running PDF Rendering
  Running LLVM
  Running Camera
  Running SGEMM
  Running SFFT
  Running N-Body Physics
  Running Ray Tracing
  Running Rigid Body Physics
  Running HDR
  Running Gaussian Blur
  Running Speech Recognition
  Running Face Detection
  Running Memory Copy
  Running Memory Latency
  Running Memory Bandwidth

Uploading results to the Geekbench Browser. This could take a minute or two
depending on the speed of your internet connection.

Upload succeeded. Visit the following link and view your results online:

  https://browser.geekbench.com/v4/cpu/test123

Visit the following link and add this result to your profile:

  https://browser.geekbench.com/v4/cpu/test123/claim?key=843762
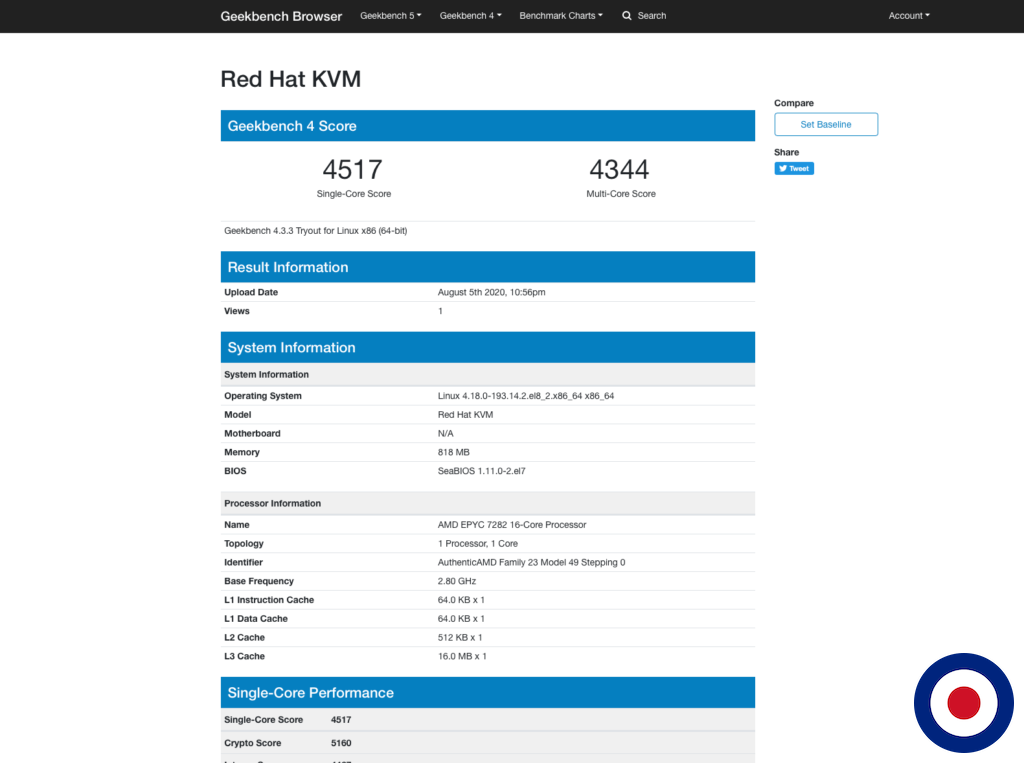
You can now visit the first link https://browser.geekbench.com/v4/cpu/test123 which will open the Geekbench Browser and show the results of the test. If you have an account with Geekbench you can use the second link to add the result to your profile.
Uninstall Geekbench 4
Once you have finished running the benchmark and saved the necessary links you can safely delete the Geekbench .tar.gz file and folder using the following command.
cd && rm -rf Geekbench-4.3.3-Linux Geekbench-4.3.3-Linux.tar.gz
Install Geekbench 5
In order to install Geekbench 5 you’ll need to download the latest version from the Geekbench. You can use wget that we installed earlier using the follow command.
wget http://cdn.geekbench.com/Geekbench-5.2.3-Linux.tar.gz
Note
At the time of writing this guide, the latest Geekbench 5 version was 5.2.3. This may have been updated since and we would always recommend that you check the Geekbench website to ensure you are using the latest version.
Once the download has finished we will use the tar package to unpack the .tar.gz file using the following command.
tar -zxvf Geekbench-5.2.3-Linux.tar.gz
Now we will open the directory where the files have been unpacked to using the following command.
cd $(ls -1d Geekbench-*/ | tail -1)
Once the directory is open we will run the Geekbench 4 benchmarking tool using the following command.
./geekbench5
Geekbench 5 Test
The Geekbench 5 benchmarking tool will show you what stage it is at throughout with the output looking like this.
Running Gathering system information
  Running Gathering system information
System Information
  Operating System              Linux 4.18.0-193.14.2.el8_2.x86_64 x86_64
  Model                         Red Hat KVM
  Motherboard                   N/A
  BIOS                          SeaBIOS 1.11.0-2.el7

Processor Information
  Name                          AMD EPYC 7282 16-Core Processor
  Topology                      1 Processor, 1 Core
  Identifier                    AuthenticAMD Family 23 Model 49 Stepping 0
  Base Frequency                2.80 GHz
  L1 Instruction Cache          64.0 KB
  L1 Data Cache                 64.0 KB
  L2 Cache                      512 KB
  L3 Cache                      16.0 MB

Memory Information
  Size                          819 MB

Single-Core
  Running AES-XTS
  Running Text Compression
  Running Image Compression
  Running Navigation
  Running HTML5
  Running SQLite
  Running PDF Rendering
  Running Text Rendering
  Running Clang
  Running Camera
  Running N-Body Physics
  Running Rigid Body Physics
  Running Gaussian Blur
  Running Face Detection
  Running Horizon Detection
  Running Image Inpainting
  Running HDR
  Running Ray Tracing
  Running Structure from Motion
  Running Speech Recognition
  Running Machine Learning

Multi-Core
  Running AES-XTS
  Running Text Compression
  Running Image Compression
  Running Navigation
  Running HTML5
  Running SQLite
  Running PDF Rendering
  Running Text Rendering
  Running Clang
  Running Camera
  Running N-Body Physics
  Running Rigid Body Physics
  Running Gaussian Blur
  Running Face Detection
  Running Horizon Detection
  Running Image Inpainting
  Running HDR
  Running Ray Tracing
  Running Structure from Motion
  Running Speech Recognition
  Running Machine Learning


Uploading results to the Geekbench Browser. This could take a minute or two
depending on the speed of your internet connection.

Upload succeeded. Visit the following link and view your results online:

  https://browser.geekbench.com/v5/cpu/test123

Visit the following link and add this result to your profile:

  https://browser.geekbench.com/v5/cpu/test123/claim?key=152803
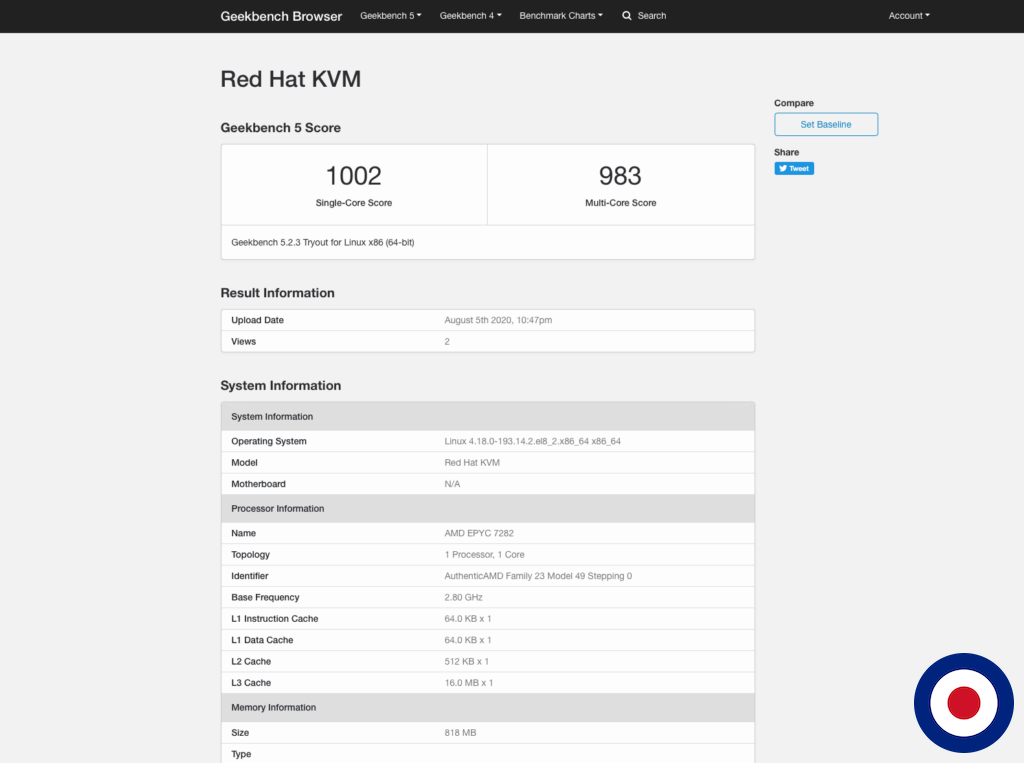
You can now visit the first link https://browser.geekbench.com/v5/cpu/test123 which will open the Geekbench Browser and show the results of the test. If you have an account with Geekbench you can use the second link to add the result to your profile.
Uninstall Geekbench 5
Once you have finished running the benchmark and saved the necessary links you can safely delete the Geekbench .tar.gz file and folder using the following command.
cd && rm -rf Geekbench-5.2.3-Linux Geekbench-5.2.3-Linux.tar.gz
Summary
That’s it. You have now successfully installed either Geekbench 4, Geekbench 5 or even both and fully tested the CPU and GPU capabilities of your server. Don’t forget to share your results below.


